Wednesday, April 30, 2014

Salt dough idea

Hello to you all.

I’d like to share with you something I made for Tammi and my Christmas challenge.

I decorated a little jar and added my “gift” inside the jar. If you like to see the full set you can swing by my other blog and have a peek. Thanks
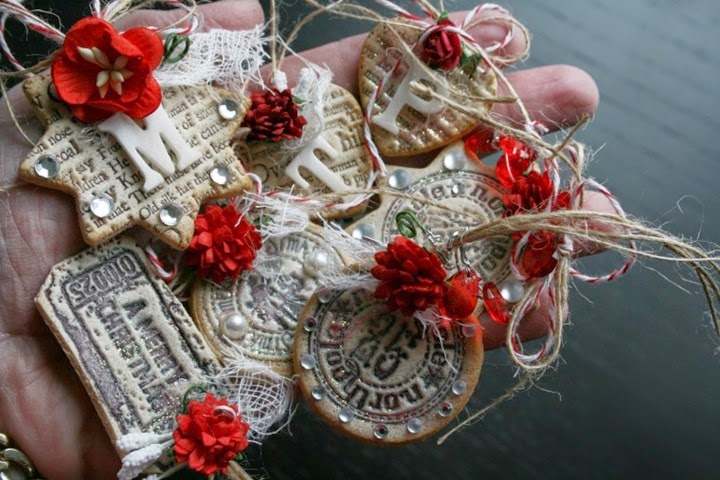
Here is what I have made for the inside…. I have to admit I wanted to make something to add a gift card… a little boring Smile this one was more work but it was fun to make with the kids. So if you have a rainy day, try it out. I used to make salt dough as a kid all the time. Its so easy essentially its 2 part flour and 1 parts of Salt with 1 part of water mixed, shaped and dried either at a sunny window or on lowest heat setting in the oven over several hours.

Now if you like to stamp on the ornaments, gift tags or what ever you decide to make you would roll your dough out, stamp first and than cut the shape out with a cookie cutter. I was able to stamp some Magnolia Tilda images onto my dough but haven't really figured a way out how to color them. I was about to play with my pencils but ran out of time. So here are for now just a few “plain” ones.Salzteig_1

I used the following Magnolia stamps to stamp on my tags/Ornaments:
A Merry Christmas, 25 North pole, Frosty the snowman, Merry Christmas seal,

Salzteig_2

Here is a detailed recipe how to make the dough


What you'll need

  • 1 cup flour
  • 1/2 cup salt
  • 1/2 cup water
  • Rolling pin
  • Cookie sheet
  • Toothpick
  • Miniature cookie cutters
  • Acrylic paints
  • Glitter glue or glitter paint
  • Ribbon

Helpful Tip:

If your toppers are large enough, you can make two holes in each so that you can thread ribbon through like a button, only showing a small amount of ribbon on the front.

Notes:

Uncooked salt dough doesn’t keep well, so only make enough dough for the ornaments you are going to make. If you are only making a few toppers, halve the ingredients above. The listed amounts will make enough ornaments for a classroom of 20.

Variations:

These make adorable pins to wear to school. Just don’t make a hole. Glue a pin back to the back of the completed ornament instead.

How to make it

  1. Preheat the oven to 250° F.

  2. Mix together salt, flour, and water until dough is formed.

  3. Knead the dough on a floured surface until the mixture is elastic and smooth. If dough is too sticky, sprinkle with flour, continue to do so until stickiness is gone. Do not add too much flour, as this will dry out the dough and will cause it to crack before you get a chance to bake it.

  4. Roll out the dough to about 1/4” thick with a rolling pin that has been dusted with flour.

  5. Use cookie cutters to cut out as many ornaments as you want.

  6. Use a toothpick to make a hole toward the top of the shape. Poke the toothpick into the shape, then holding toothpick straight up and down, make a circular motion as if you were stirring something. Keep circling until the hole is the size you want. You can also use a straw or a stir stick to poke the hole.

  7. Place all shapes onto an ungreased cookie sheet and place into the preheated oven.

  8. Bake for 2 hours.

  9. Remove from oven and allow to cool completely.

  10. Paint the ornaments.

  11. When paint is dry, use glitter glue or glitter paint to put a sparkling cover coat on your ornaments.

  12. When the glitter is dry, thread ribbon through hole and tie in a knot in the back.

  13. Hang on your tree or tie onto a package.

Friday, April 25, 2014

art supply gift giving

Hello friends.. sorry for my dark pictures, all it does is raining today.

wow.. I can’t believe how fast this week has gone by! I have been in my craft room every day but it seams I cant get anything FINISHED. I am jumping from one thing to the next having a hard time wrapping at least one up. One of my dear online friends birthday is approaching and we always make each other gifts that involve lots of coloring. OMG why did we ever start doing this lol. Actually, no kidding I love doing it – once its done hahahaart supplies2

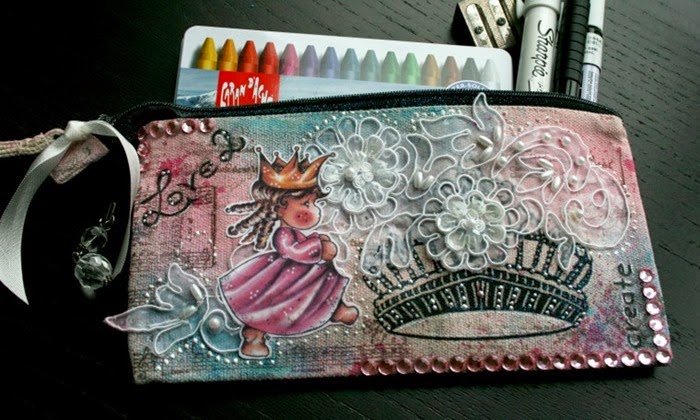
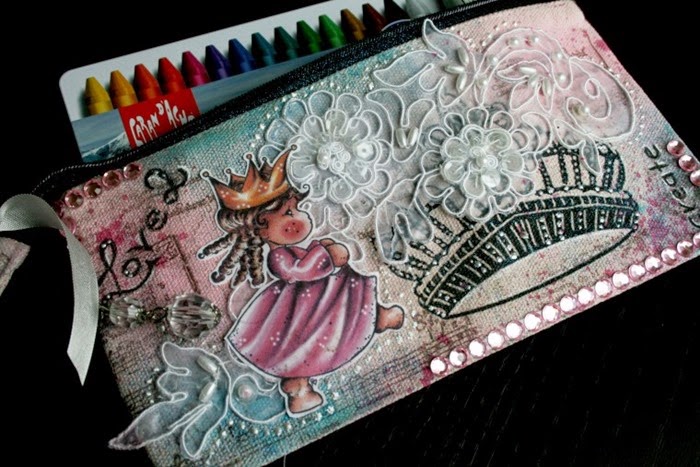
Since I haven’t received the newest Magnolia stamps yet (cant wait to see them) I searched in my Magnolia stamp storage boxes for some stamps that I haven’t used yet. This cute princess was the one I picked. I just love her and just happened that I saw at Michaels this cute canvas pouch in the $2 section with a crown on it. I thought it would make a great to “wrap” some basic and not so basic pens and coloring items up which I had plan to gift. The canvas bag is just the regular off white color but I spray painted it with some Tulip fabric paints alternative you could use your Tim Holtz Distress paints (light pink, baby blue with glitter and darker pink). I also stamped with some stamps onto the fabric. Than I wrote some words in pencil onto the bag and once I was happy with it wrote over them with a black marker. I kept embellishing flat and simple because I didn’t want anything raising too high off the pouch.

art supplies_1

Here is what I used:
Tilda princess, several Magnolia stamps (music, crown kit)
Tulip fabric spray paints or distress paints ( I would suggest Raspberry, Spun sugar and Salty Ocean)
Fabric ink pad in brown
Tim Holtz embellishment, seam binding ribbon
white gel pen, black pen, liquid pearls, zip dry glue
super cute fabric with pearl applique was a gift from Angie – I don’t know if she is going to order these to sell in her shop but you could ask her, I would think if many enough ask her for it that she considers.

Thank you so much for your visit
Claudia

Monday, April 14, 2014

Birthday calendar binder ~ final 7 months

Hi there,
are you still with me on the calendar lol.

I promise I will make it short.. if you get tiered by the boring pages, imagine me coloring on the last 3 pages. You just want to get it DONE! (however the result is well worth, I wouldn’t have made 2 already, if not)

Calendar_JuneCalendar_July

June:
Postmark, sitting Tilda (I don’t remember the collection she is in), hot air balloon set, sun

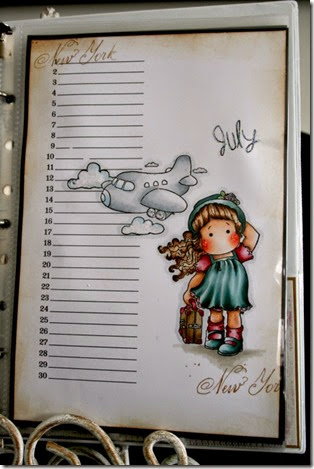
July:
Magnolia Airplane in the clouds, Tilda on the loose, New York

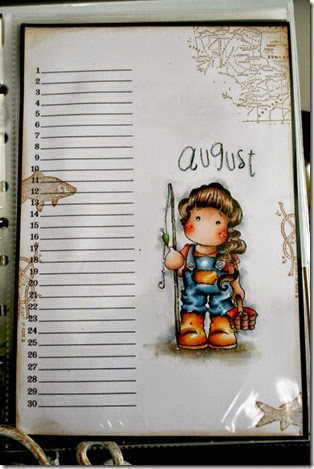
Calendar_august

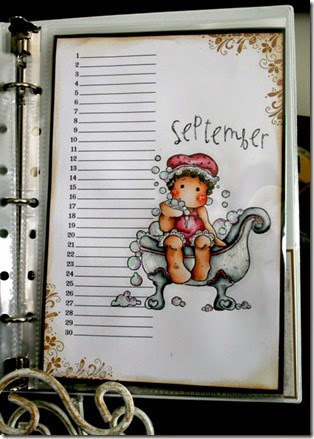
Calendar_september


August:
Tilda gone fishing, Fish kit, rope, ocean map

September:
Kurbitz corner, Bath tub, Tilda with bath hat

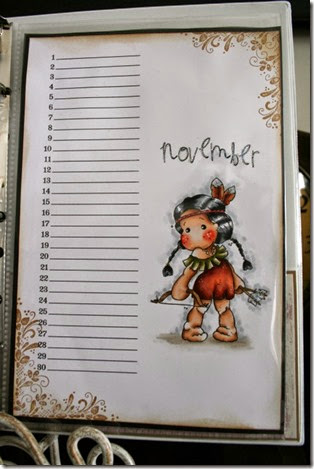
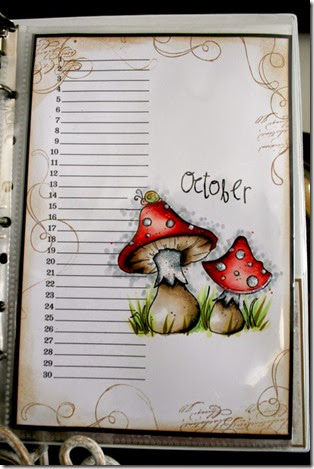
Calendar_NovemberCalendar_october

November:
Indian Tilda, Kurbitz corner 

October:
summer swirl, mushroom with snail, script

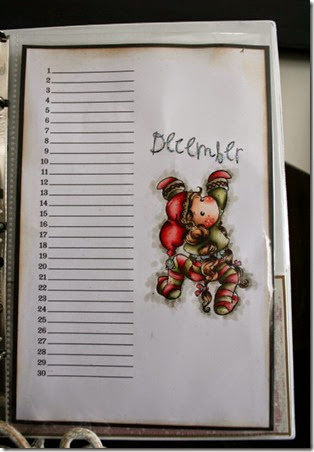
Calendar_December

December
Pixie Tilda

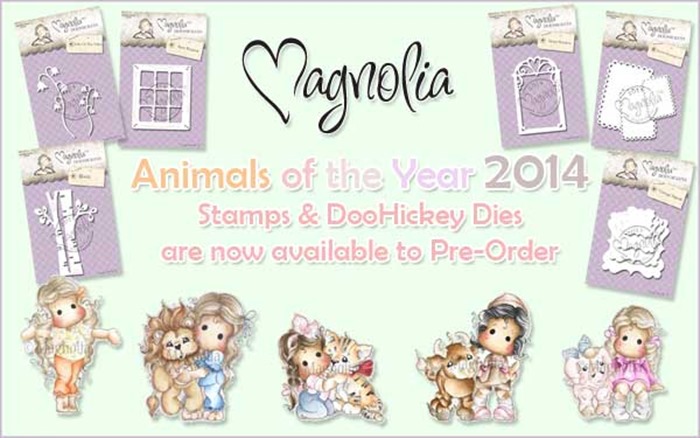
OMG!!! soooo excited.. I am in total love with those! I think this is going to be my favorite Magnolia collection of all times.

2014-animals-collection

Wednesday, April 9, 2014

My birthday calendar

Hello sweets..
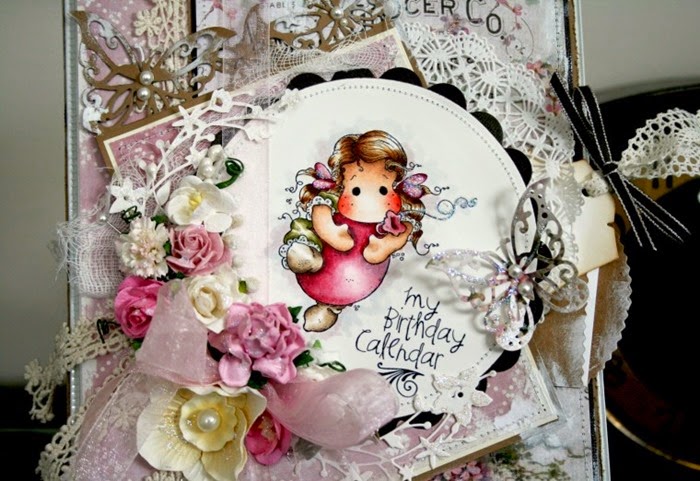
today I would love to show you a birthday calendar I made / colored already in December 2013. I wasn’t sure if I am going to show the photos on my blog, simply because it was such a pain to take photos of all the pages in the plastic sleeves. The photos don’t really do the book justice. I did make in fact 2 of those books… to give as Christmas gifts. This one went to Janice over at Sir Stampalot and since I hope she uses it as display I made sure to use all Magnolia stamps and images I haven’t colored in before.

Well.. lets get to the pages.. I will show half today and the rest next time so it doesn’t get too boring for you guys.

birthday calendar_1

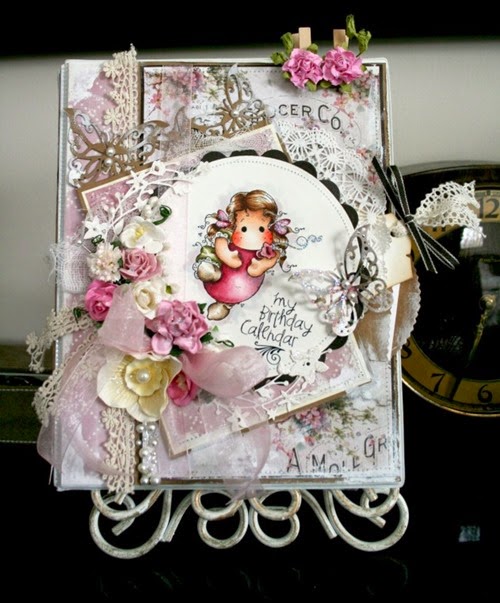
So I started out with a 1.5 inch Office Depot/Staples brand ring book binder in white and covered it with pretty Magnolia papers.

The papers used are: Magnolia ink quilt and a paper from last years valentines line. The image is Magnolia Tilda on balloon – the sentiment is computer generated by my very talented friend Tammi.
dies uses are by Spellbinder, Joy Crafts butterfly border, butterfly and Memory box circle on sale
There is a lot of distressing and gesso on the pagesbirthday calendar

I covered the spine and also the reverse side of the binder with design papers. if you plan out your layout carefully you will be fine with 2 sheets of coordinating 12x12 papers. Making sure you will pick papers that have no left or right pattern, so you can use the scraps in any direction.

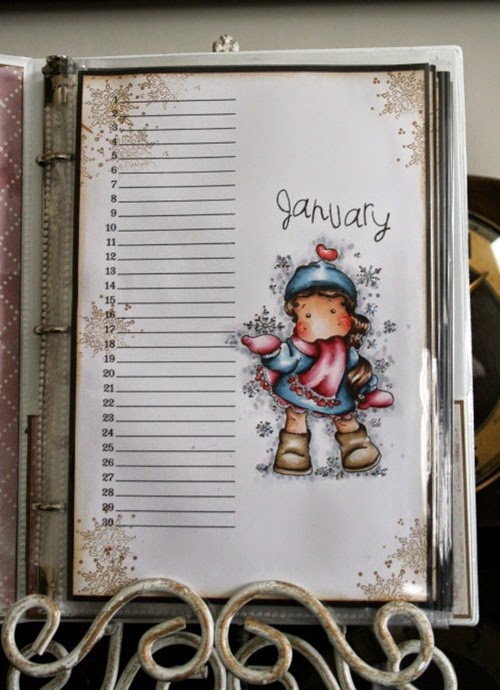
For the month of January I used Magnolia Tilda with snowflake and stamped some little snowflakes in the edges
The lines of the pages are computer generated

Calendar_January

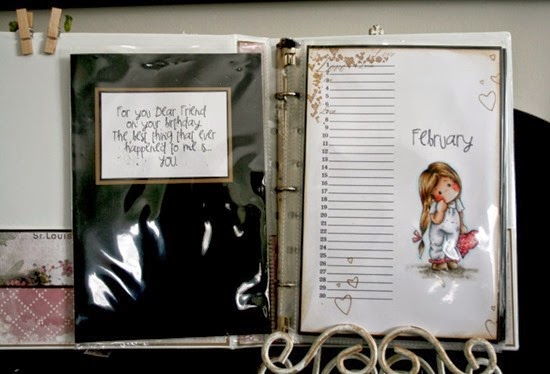
Every reverse side of a month has on the back a cute little sentiment, which I matted twice and heat embossed every single piece before adhering it.
For the month of February I used Magnolia Lonely Tilda with heart, love corner and some simple heart outlined stamps – all made by Magnolia

Calendar_Februaryseams I forgot to take a photo of March lol…
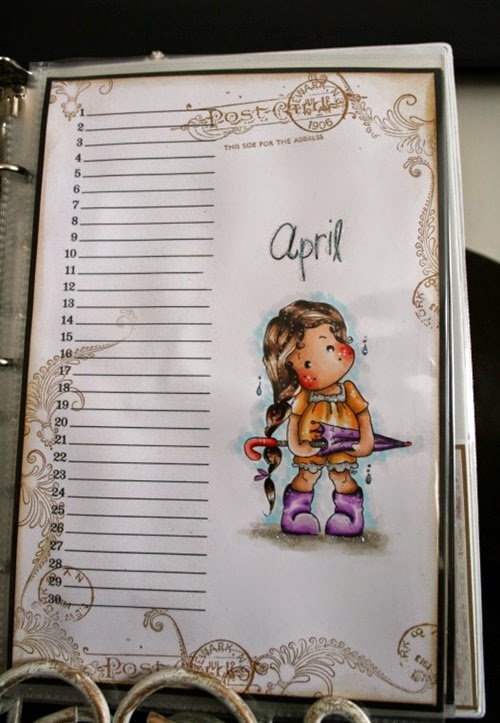
moving on to the month of April. I used for the page Magnolia Tilda with umbrella, Post card stamp and some swirls

Calendar_April

All pages are colored with Copic markers and I tried to keep the colors the same so even if I moved on from the cold months to reds for December it the pages kind of worked and were not too off when flipping through the book. Just stick with a few basic colors and it will make the job much easier. Not saying that if you make the book all in one session you aren’t going to be annoyed with it on the 6th page lol. I think its easier to just make 1-2 pages per week and in between do something else.
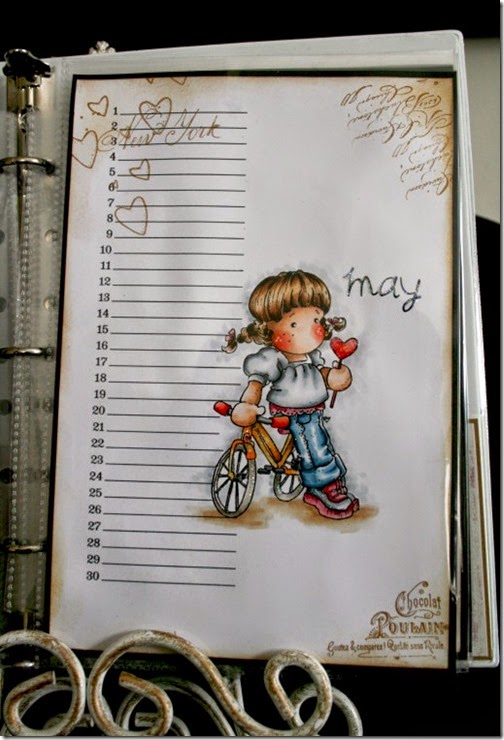
For May I used
Tilda with Lollipop (one of the summer collections), New York stamp, Chocolate and script stamps

Calendar_March

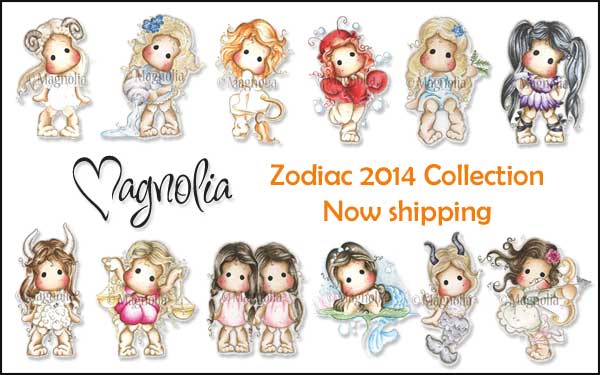
I know, I know… you guys figured it… the Zodiacs would be awesome to make something like that for a friend Smile They are all for sale now at Sir Stampalot. This is going to make such a pretty gift for a friend. I know everyone I made one so far loved the books.

Magnolia Zodiac Collection

Saturday, April 5, 2014

(Friend)

Hope you guys are having a great weekend xoxo

Friend_Heidi_2

Stamps: Magnolia Tilda binding Flowers
Dies: Magnolia Doo Hickey Swirly Butterfly, Magnolia DooHickey So Lovely, Magnolia DooHickey heart swirl branch, Magnolia Doo Hickey Memory Tag, Magnolia DooHickey Doily Flower. Magnolia DooHickey Tilda Tag
Spellbinder oval, Marianne Design circle die
GoKreate Frilly #7
Sentiment: “Friend” Stampin up
Papers: Magnolia Ink Sea Breeze paper Vintage Sumer Roses – double sided
other: glue Zip ( this glue was awesome to glue the butterflies together! Thanks Janice :-xx), Seam binding ribbon, buttons, Frantage, heat tool, pearl stickers, brushes, watercolor paper (Langton is back in stock!!!), jute, blending tool, Distress inks, Hobby House flowers, vintage hardware, Prima Marketing flowers, Versamark

Friend_Heidi_1

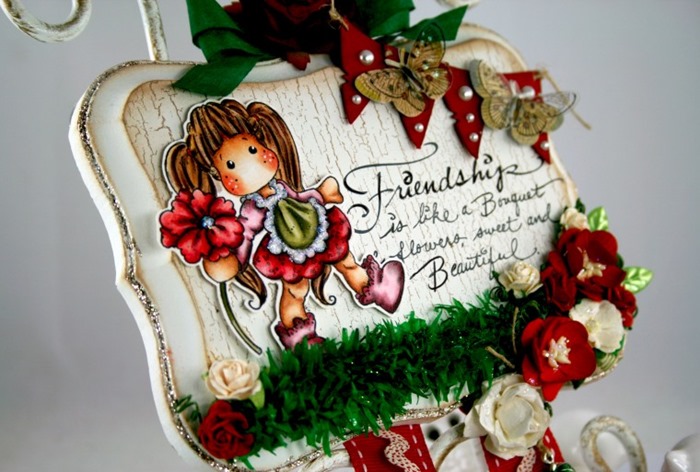
I would also like to bring Poppy Tilda again to your attention, she is exclusive to Sir Stampalot , which means she has not yet been released to any other stores. Doesn’t she look so cute on Spring cards?! Here are a couple of samples I have made last year with her one a bit softer and one using bold colors.

Claudia_Rosa_Poppy Tilda_1

Easter Opening Times at Sir Stampalot:
Although the store will be shut for 4 days over the Easter weekend:
Thursday 17th April 10am - 5pm
Good Friday - closed
Easter Saturday - closed
Easter Sunday  - closed
Easter Monday - closed
Tuesday 22nd April - 10am - 5pm

Claudia_Rosa_Garden sign_1Sir Stampalot does have 5 free demo days planned this quarter to make up for it :) (see class & events schedule) Everyone at Sir Stampalot wishes you all a very Happy Easter.

Tuesday, April 1, 2014

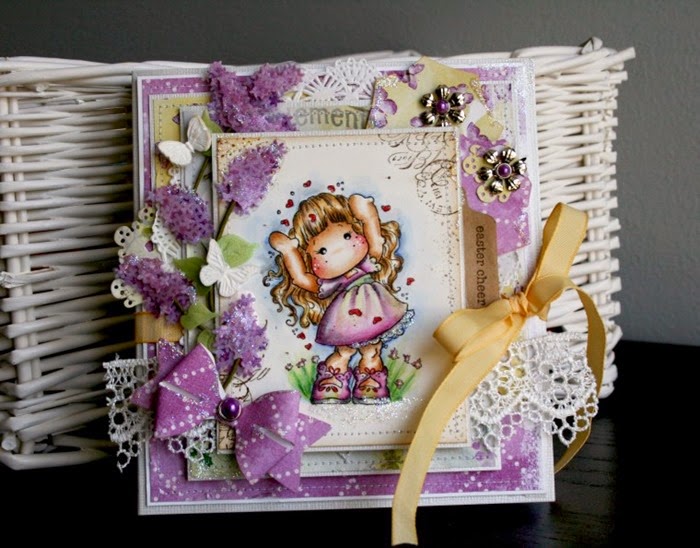
#1 Magnolia sponsored Blog Hop – Chocolate card

Hello girls, I am so honored to be able to be one of the girls kicking off the first blog hop sponsored by Magnolia Sweden, organized by Debbie Dolphin. (Thanks girl.. this sure was a lot of work with so many DT on the team).
I will make it short, let me tell you what you would need to do in order to be able to win one of the 3 prizes from Magnolia Sweden… who knows what your parcel may contain… stamps, dies, embellishments, papers?! Its going to be a big surprise.
Just leave a comment on each blog in the hop and 3 winners will be chosen at random.Christina_1
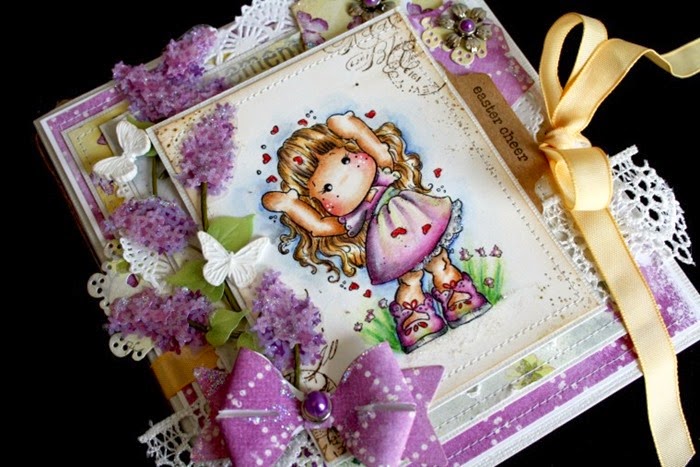
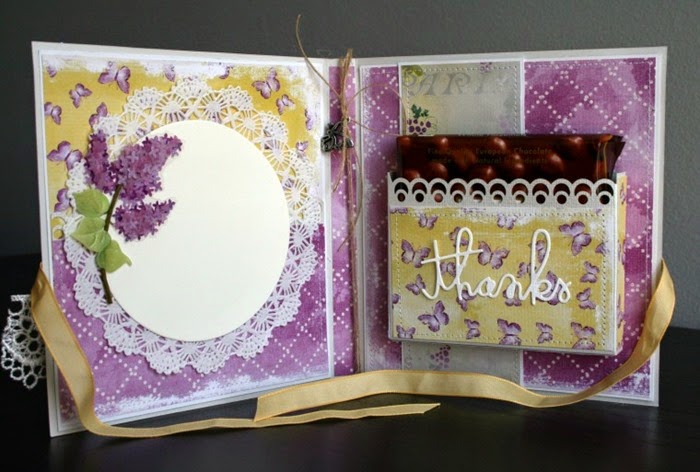
I made for today a card inspired by my friend Christina. She gave me once a pocket card that included a big chocolate bar. Well.. we both are Germans living in the US and we still can’t get rid of all those cravings we have for German foods. Luckily there are some stores that sell a small selection of delicious chocolate. Her favorite brand is Ritter Sport with Hazelnuts – mine is Full milk Milka (just putting it out there hahaha cause we have out favorites)Christina_3

Supplies:
Magnolia Tilda, post mark
Papers: Magnolia Ink purple quilt, Magnolia Ink “Sunrise Butterfly”, Magnolia Ink “Going Bananas”
Sentiment: Stampin up
Embellishments: Pandouro flower brads, ribbon: Stampin Up, Stickles, Martha Stewart clay and mold, Bazzill paper, Tim Holtz walnut stain, Martha Stewart border punch
Dies: Magnolia DooHickey Tildas tag, Magnolia DooHickey Brides Bow, Magnolia mini doily (used on backside of card with my name on it)

Christina_2Hop along to
Debbie- http://www.debbie-thedolphins.blogspot.co.uk/
Hop along to
Diana- http://deedeesmagnoliaart.blogspot.co.uk/
Hop along to
Janny-http://jannymagnolia.blogspot.co.uk/
Hop along to
Kylie- http://magnoliabykylie.blogspot.co.uk/
Hop along to
Mae- http://magnoliasbymae.blogspot.co.uk/
Hop along to
Neline- http://nelinesmagnoliablog.blogspot.co.uk/
Hop along to
Paulina- http://monamimagnolia.blogspot.co.uk/
Hop along to
Pearl- http://magnoliaexperiment.blogspot.co.uk/
Hop along to
Sandra- http://sandrasmagnoliascrapsels.blogspot.co.uk/
Hop along to
Tanja-http://stampinpipersmagnolias.blogspot.co.uk/
Hop along to
Yulis- http://yuliswithmagnolia.blogspot.co.uk/
hop along to
Yuri- http://soffamagnolia.blogspot.co.uk/

Christina_4

As said.. this is only the first hop on the agenda Smile stay tuned, soon will be an other one with candy to win and lots of Spring/Summer inspirations to find on the Design Team individual blogs.
Thanks
Claudia